Foundation Shade Finder
Find Your Perfect Foundation Shade
Determine the right foundation shade for your skin tone and undertone
Step 1: Identify Your Undertone
Step 2: Select Your Skin Tone
Your Result
Select your undertone and skin tone to see your recommended foundation shade
When you hear Makeup is a creative practice that lets you enhance your features, express mood, and boost confidence. It’s a blend of art and technique, and you don’t need a professional school to master it.
Key Takeaways
- Start with a minimal kit and upgrade as you learn.
- Master the basics: skin prep, foundation, and blending.
- Use lighting and mirrors that mimic real‑world conditions.
- Practice daily with short, focused drills.
- Leverage free video tutorials and community feedback.
1. Set a Solid Foundation (Literally)
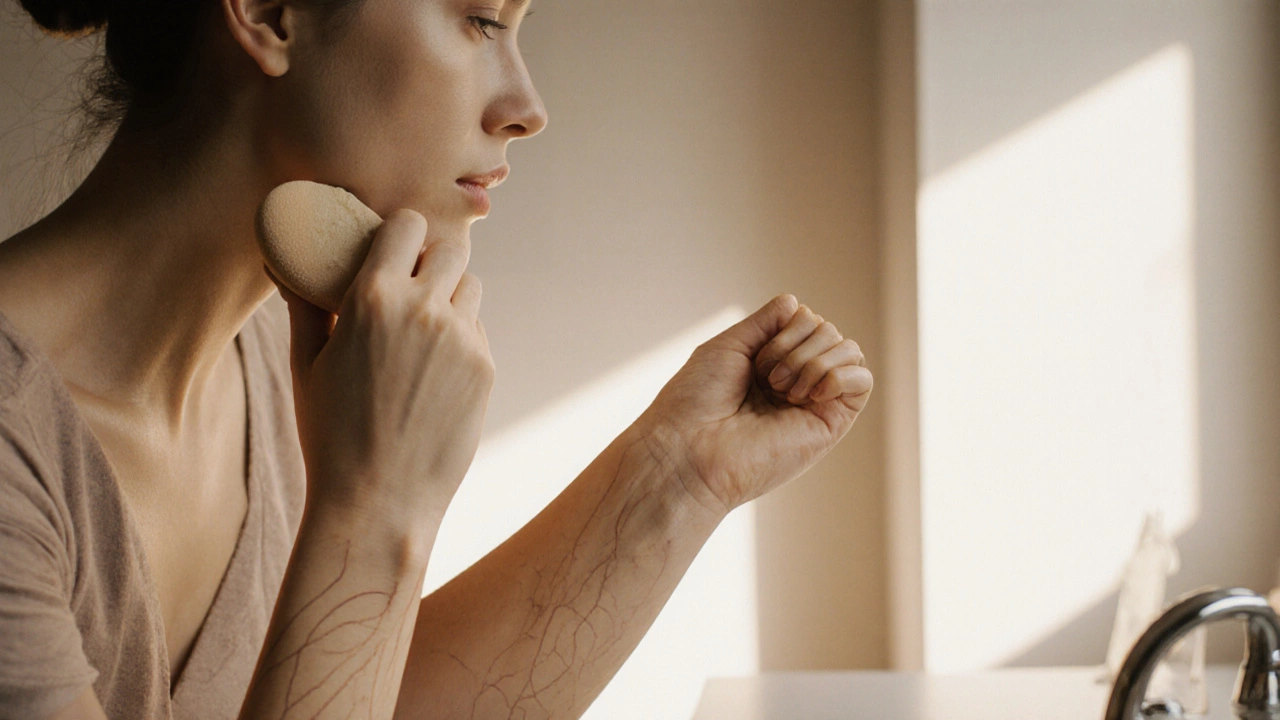
Before you pick any product, understand your skin’s undertone. Cool tones have pink or blue hints; warm tones lean toward yellow or golden. A quick test: look at the veins on the inside of your wrist-blue veins suggest cool, green veins suggest warm. Matching your undertone to the right Foundation a base product that evens out skin tone and creates a smooth canvas prevents a mask‑like look.
Choose a foundation shade that disappears into your skin when blended. For beginners, a fluid or light‑coverage formula is forgiving. Apply with a Blending sponge a soft, porous tool that helps diffuse product for a seamless finish-press gently, then tap to set.
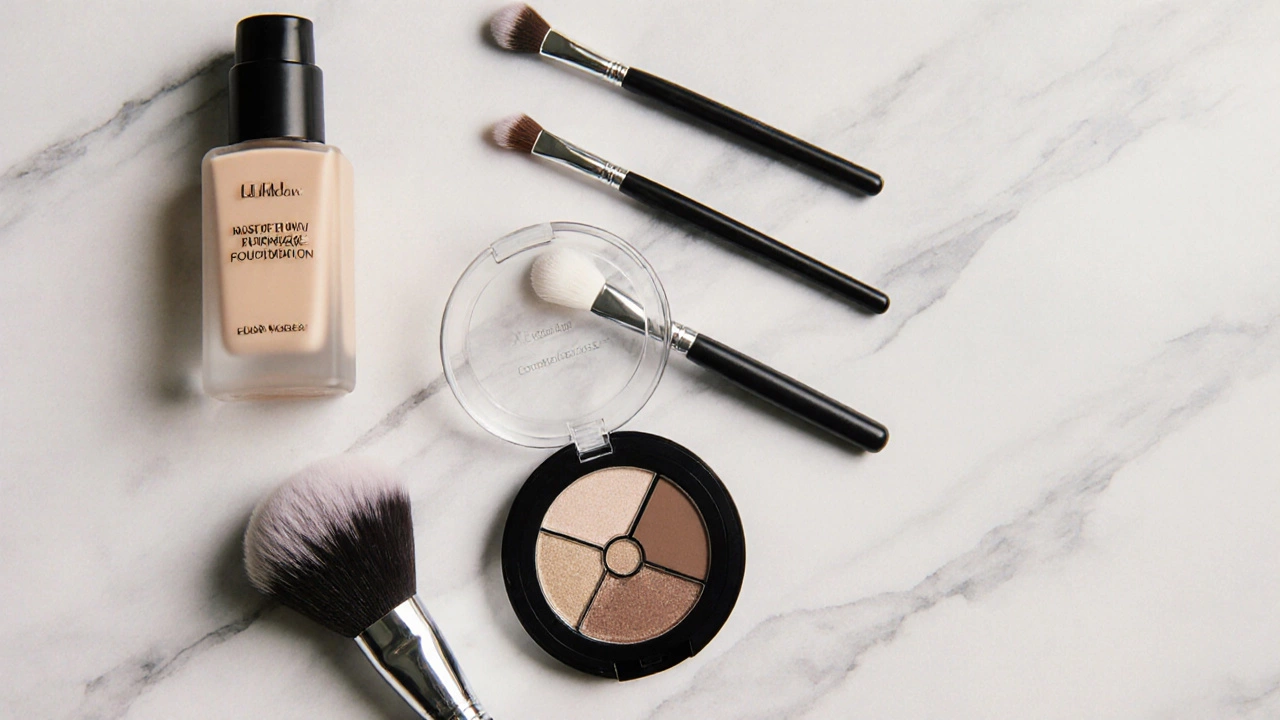
2. Build a Budget‑Friendly Kit
Quality matters, but you don’t have to splurge on every item. Focus on three essentials:
- A versatile foundation.
- A neutral eyeshadow palette with matte and shimmer shades.
- A set of basic brushes-flat brush for foundation, angled brush for eyeliner, and fluffy brush for blending.
The table below compares brush types you’ll likely encounter when you start watching tutorials.
| Brush | Shape | Best For |
|---|---|---|
| Flat foundation brush | Flat, dense | Applying liquid or cream foundation evenly |
| Angled brush | Slanted, medium density | Creating precise winged liner or filling brows |
| Fluffy blending brush | Round, soft bristles | Smudging eyeshadow for a seamless gradient |
3. Master Light and Shadow
Understanding Color theory the study of how colors interact and affect perception is the shortcut to looking polished. Start with three shades:
- Base - a neutral tone for the main lid.
- Transition - a slightly darker hue to create depth.
- Highlight - a light or shimmery shade on the brow bone.
Apply the base across the lid, blend the transition into the crease with the fluffy brush, and tap the highlight on the inner corner and brow bone. The effect mimics natural light and works for day‑to‑night looks.
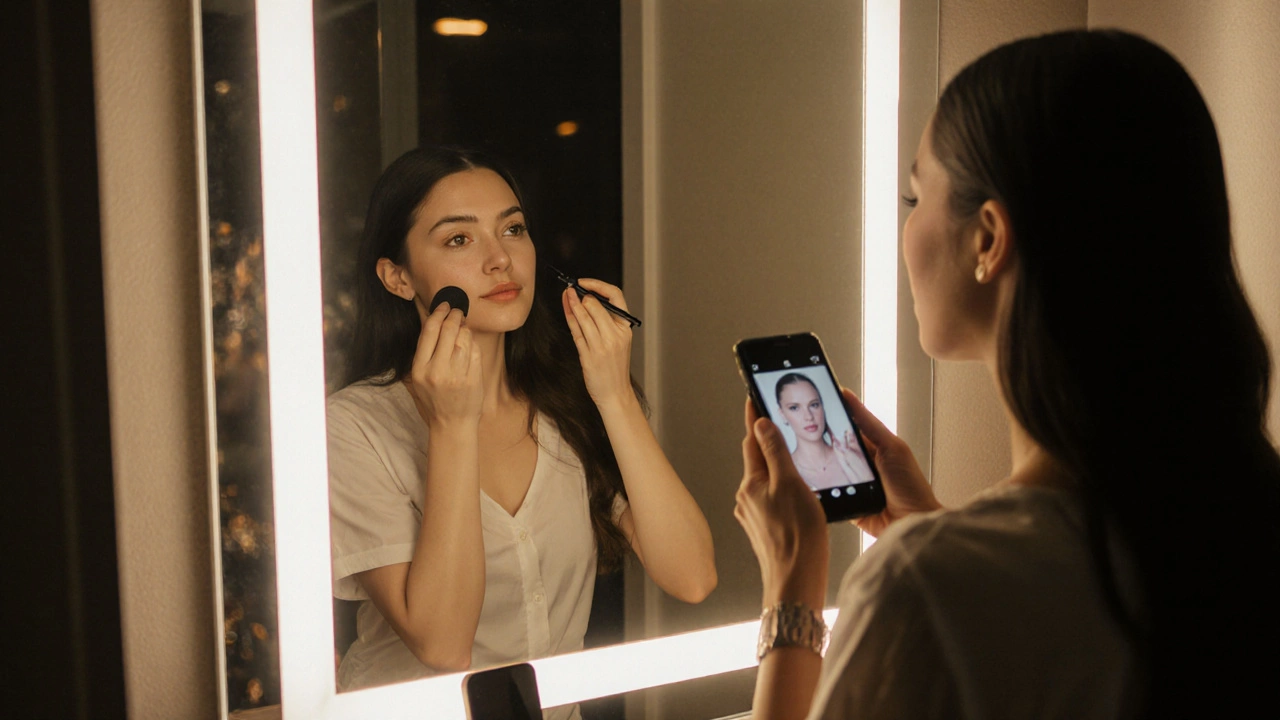
4. Perfect Your Application Environment
What you see in a video tutorial often differs from your bathroom mirror. Aim for natural daylight or a daylight‑balanced LED lamp (5500 K). Position the light source at a 45‑degree angle to avoid harsh shadows. If you only have ceiling light, use a handheld mirror that lets you see your face from multiple angles.
Consistent lighting helps you judge true color payoff and spot mistakes early, saving time and product.
5. Structured Practice Routine
Treat learning like a workout: warm‑up, focus, cool‑down. Here’s a 15‑minute daily drill you can fit into any schedule.
- Warm‑up (2 min): Cleanse and moisturize to create a smooth base.
- Foundation (4 min): Apply shade, blend with sponge, set with translucent powder.
- Eyes (6 min): Follow the three‑shade method-base, transition, highlight.
- Lips (2 min): Use a lip liner to define, then fill with chosen lipstick.
- Cool‑down (1 min):> Take a photo, compare with reference, note one thing to improve.
Recording a quick selfie lets you track progress and catch subtle errors that the mirror hides.
6. Leverage Free Learning Platforms
Two giants dominate self‑learning content: YouTube a video‑sharing platform offering endless makeup tutorials and Instagram a visual social network where creators post short reels and step‑by‑step guides. Search for keywords like “beginner everyday makeup” or “budget-friendly tutorial”. Bookmark creators who explain product choices clearly-look for clear lighting, close‑up shots, and a calm pace.
Join the comment section: ask questions, share your attempts, and get feedback. Communities often host weekly challenges that push you to try new techniques.
7. Common Mistakes and How to Fix Them
- Too much product: Start with a pea‑sized amount of foundation; you can always add more.
- Harsh lines on eyes: Blend within three seconds of applying the transition shade; if the line persists, use a clean fluffy brush to soften.
- Wrong undertone: If the foundation looks orange or gray, revisit your undertone test and try the next lighter/darker shade.
- Poor lighting: Switch to daylight bulbs and notice immediate improvement in color accuracy.
8. Quick Checklist Before You Call It a Day
- Skin cleaned and moisturized?
- Foundation blended without streaks?
- Eyeshadow colors transitioned smoothly?
- Lips defined and filled?
- Lighting checked for true colors?
Tick each box, snap a final photo, and store your tools for the next session.
Frequently Asked Questions
How often should I clean my makeup brushes?
Wash brushes with gentle soap every 1‑2 weeks if you use them daily; for occasional users, a monthly clean is enough. Let them air‑dry flat to keep bristles from bending.
Can I learn makeup without buying expensive products?
Absolutely. Start with a basic palette, a decent foundation, and a few brushes. Many drugstore brands offer pigment‑rich eyeshadows that perform like high‑end equivalents.
What lighting is best for practicing makeup at home?
Natural daylight or a 5500 K LED lamp placed at a 45° angle. Avoid overhead fluorescent lights that cast greenish hues.
How do I choose the right foundation shade?
Test three shades along your jawline. The correct one should disappear into your skin after blending, with no visible line.
Is it okay to use the same brush for face and eye makeup?
It’s not ideal. Face brushes tend to be denser, which can deposit too much product on the delicate eye area. Keeping separate brushes reduces contamination and improves precision.
With these steps, tools, and resources, you can confidently embark on a self taught makeup journey that fits your schedule, budget, and style. Keep experimenting, stay curious, and watch your skill level rise-one brushstroke at a time.