Beginner Makeup Kit Builder
Select your profile to see the essential products you actually need to start your beauty journey.
Your Essential Checklist
Select a look to see which application tools are most important for your kit.
Quick Tip:
Always swatch base products on your jawline, not your hand, to ensure a perfect match in natural light.
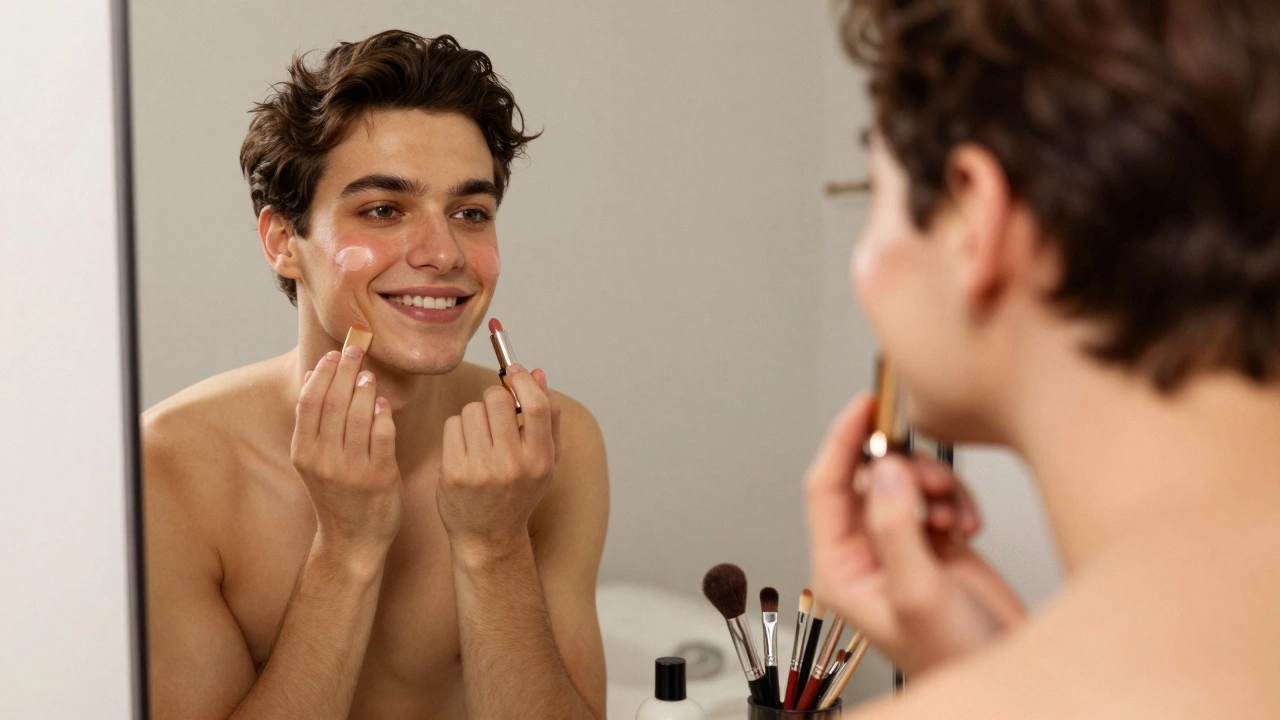
The goal for any new makeup enthusiast is to build a functional base. You want products that enhance your natural features without feeling like you're wearing a mask. Whether you're aiming for a 'no-makeup' look for school or want something a bit more polished for work, the secret is starting with a few versatile staples. Let's strip away the noise and focus on the gear that actually makes a difference.
Key Takeaways for Your First Kit
- Prioritize skin preparation to make makeup last longer.
- Choose multi-purpose products (like a lip and cheek tint).
- Invest in a few high-quality brushes instead of a massive, cheap set.
- Focus on blending and lightweight coverage first.
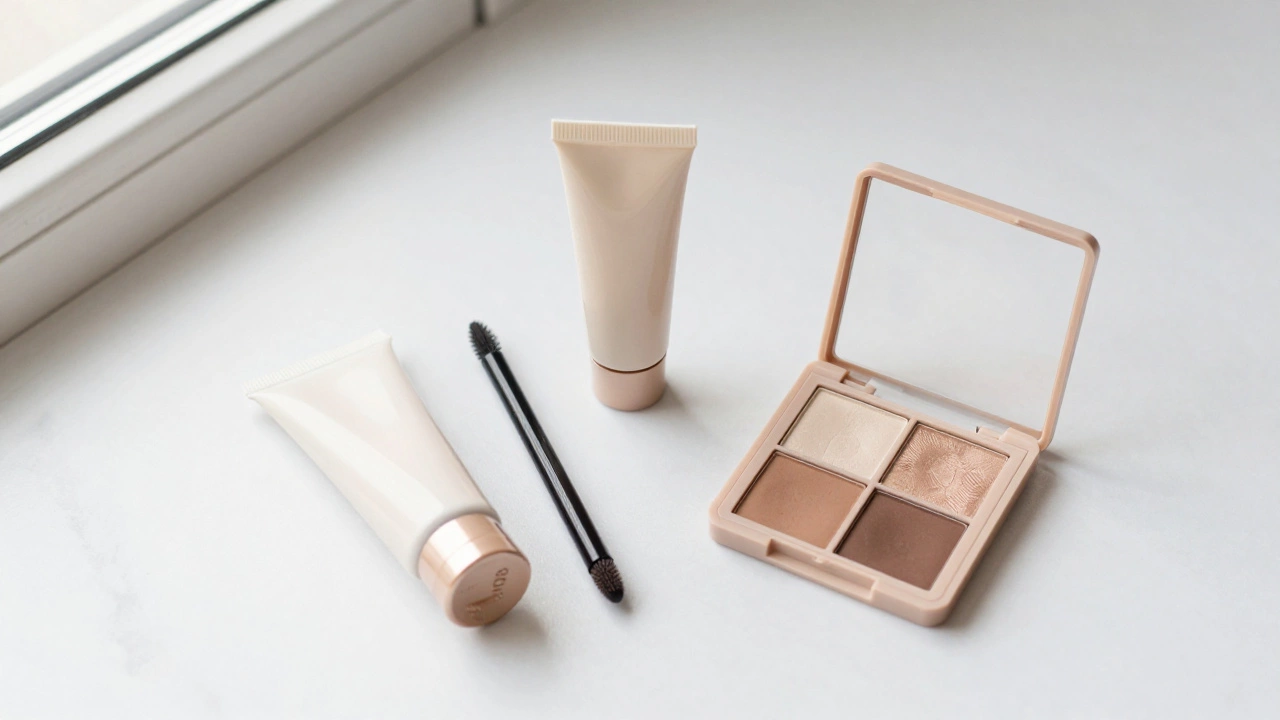
The Foundation of Every Look: Base Products
Your base is where everything starts. If your skin isn't prepped, even the most expensive makeup will look patchy. Before you touch a single pigment, you need a clean canvas. Start with a simple moisturizer and a sunscreen. If you have oily skin, a matte moisturizer works best; if you're dry, go for something creamier.
Now, let's talk coverage. For beginners, a heavy foundation can be intimidating because it's easy to apply too much. Instead, look for BB Cream is a beauty balm that combines skincare, SPF, and light coverage in one product. It's much more forgiving than a full-coverage foundation and blends easily with your fingers.
If you have specific spots or dark circles, you'll want a Concealer is a thick, pigment-rich cream used to hide blemishes and brighten the under-eye area. The trick here is to apply it only where you need it-don't swipe it across your whole face. Dab a small amount on a pimple or the inner corner of your eye and tap it in with your ring finger.
| Product Type | Best For | Coverage Level | Finish |
|---|---|---|---|
| BB Cream / Tinted Moisturizer | Everyday wear, dry skin | Light | Dewy / Natural |
| CC Cream | Color correcting redness | Medium | Satin |
| Foundation | Special events, evening out skin tone | Medium to Full | Matte or Radiant |
Defining the Eyes and Brows
You don't need a 50-shade eyeshadow palette to make your eyes pop. In fact, most people only use three or four colors per look. Start with a neutral palette containing matte browns, creams, and maybe one shimmery champagne tone. These colors mimic natural shadows and highlights on the face.
To make your eyes look more open, a Mascara is a cosmetic product used to lengthen, thicken, and darken the eyelashes. If you're nervous about clumps, start with a defining mascara rather than a volumizing one. Wiggle the wand at the root of your lashes and pull upward to avoid the "spider leg" effect.
Brows are the frame of your face. You don't need to draw them on from scratch. A Brow Gel is a clear or tinted product that holds brow hairs in place and adds subtle definition. Simply brushing your hairs upward and outward gives you a groomed, polished look in ten seconds.
Adding Color and Dimension
A flat face can look unnatural. To bring back some life, you need blush and perhaps a bit of contour. For a beginner, I highly recommend a cream blush. Why? Because it blends into the skin more seamlessly than powder and gives a healthier, glowy finish. Apply it to the apples of your cheeks and blend upward toward your temples.
For the lips, avoid jumping straight into a matte liquid lipstick-they can be drying and are incredibly hard to fix if you mess up the line. Instead, go for a Tinted Lip Balm is a moisturizing balm that provides a sheer wash of color to the lips. It's a low-stakes way to add a pop of color without needing a lip liner or a mirror.
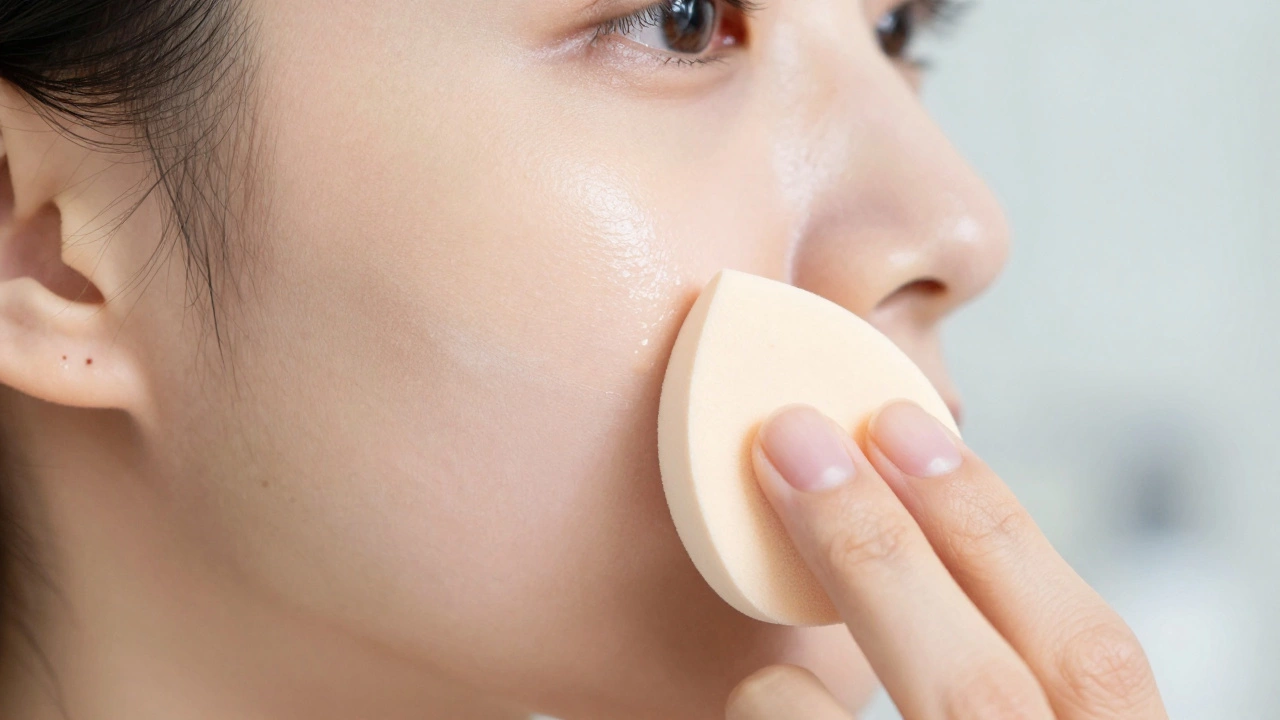
The Essential Tools: Brushes vs. Sponges
This is where most beginners overspend. You do not need a 25-piece professional brush set. You only need three basic tools to get started.
- A Damp Beauty Sponge: This is your best friend for BB cream and concealer. The moisture in the sponge prevents the makeup from looking cakey and helps push the product into the skin for a seamless finish.
- A Fluffy Blending Brush: Use this for your eyeshadow. If you just rub the shadow on with your finger, you'll get a harsh line. A blending brush softens those edges.
- A Large Powder Brush: Use this for applying a light dusting of translucent powder to your T-zone (forehead, nose, and chin) to stop unwanted shine.
Pro tip: Always wash your tools. Dirty brushes don't just apply makeup poorly; they trap bacteria that can lead to breakouts. A simple drop of dish soap or a dedicated brush cleanser once a week is plenty.
Step-by-Step Application for Your First Time
- Prep: Wash your face and apply moisturizer. Let it sink in for two minutes.
- Base: Apply your BB cream or foundation starting from the center of your face and blending outward.
- Correct: Dab concealer on any redness or under your eyes. Blend with a sponge.
- Set: Lightly dust powder on your oily areas to lock everything in.
- Eyes: Apply a light neutral shadow to the lid, a slightly darker brown in the crease, and finish with mascara.
- Brows: Brush through your brows with gel.
- Color: Dab cream blush on your cheeks and apply your lip balm.
Common Mistakes to Avoid
One of the biggest pitfalls is trying to match your foundation to your hand. Your hand is usually a different color than your face. Always swatch the product on your jawline and walk outside into natural light before buying. Store lighting is notoriously deceptive and can make a shade look perfect when it's actually two tones too orange.
Another mistake is applying too much product at once. It is significantly easier to add more makeup than it is to take it away. Start with a tiny amount of concealer or blush, blend it out, and then decide if you need more. This prevents the "cakey" look that happens when layers build up too quickly.
Do I really need a primer before makeup?
Not necessarily. If you have a good moisturizer and your skin feels hydrated, you can skip the primer. Primers are helpful if you have very large pores or extremely oily skin and need your makeup to last 12+ hours, but they aren't a requirement for a basic beginner kit.
How do I know which undertone I have?
Look at the veins on your wrist. If they look blue or purple, you likely have a cool undertone (look for "C" or "Cool" shades). If they look green, you're likely warm (look for "W" or "Warm"). If you can't really tell or they look like a mix, you're neutral.
Can I use a regular moisturizer instead of a makeup base?
Yes, absolutely. A lightweight moisturizer is the perfect base for makeup. Just make sure it's fully absorbed before applying your foundation so the products don't slide around on your skin.
What is the best way to remove makeup at night?
Double cleansing is the gold standard. Use a cleansing oil or micellar water first to break down the makeup, then follow up with a gentle face wash to clean the skin. This ensures no pigment is left in your pores overnight.
Which makeup product should I buy first?
If you only buy one thing, go for a mascara or a tinted lip balm. These provide the most immediate impact with the least amount of effort and risk.
Next Steps for Your Beauty Journey
Once you've mastered the basics, you might feel the itch to experiment. Don't rush into buying a full contour kit. Instead, try adding one new technique at a time. Maybe try a winged eyeliner with a felt-tip pen, or experiment with a bolder lipstick shade for a weekend outing.
Remember that makeup is a skill, not just a set of products. The more you practice blending and placement, the more natural your results will look. If you're feeling stuck, look for tutorials that focus on your specific skin type-whether it's oily, dry, or combination-as the products and techniques for those categories differ significantly.