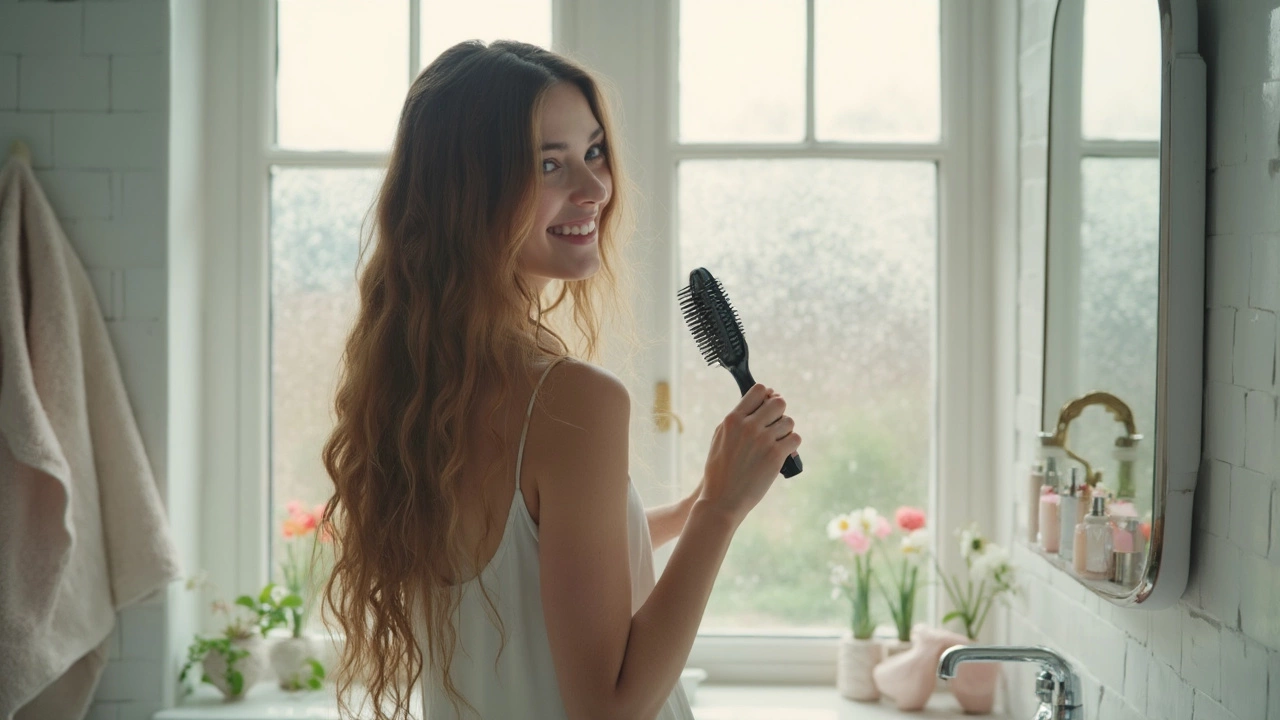
Ever stood in the shower, hesitant to let the water hit your hair extensions? You’re not alone. The internet is full of mixed messages and half-stories, but let’s get real—showering with hair extensions isn’t rocket science, but it does need a little extra care compared to washing your natural hair.
Here’s the bottom line: yes, you can absolutely shower with hair extensions. In fact, you have to, unless you want things to get gross fast. But, and it’s a big but, how you do it makes all the difference between fresh, gorgeous hair and a tangled mess that makes you want to scream.
I’ll walk you through exactly what you need to know so you can shower with confidence, whether your extensions are tape-ins, clip-ins, sew-ins, or the fancy keratin-bonded kind. No guessing games, no horror stories. Just simple, straight-shooting advice—because let’s face it, no one has time for a hair disaster with a house full of kids and a cat demanding attention at the bathroom door.
- Can You Get Hair Extensions Wet?
- Washing Extensions vs. Natural Hair: What’s Different?
- How to Shower With Hair Extensions the Right Way
- What to Avoid in the Shower
- Real-Life Tips for Drying and Styling Afterwards
Can You Get Hair Extensions Wet?
So, let’s tackle the most Googled question—can you get hair extensions wet? The short answer: yes, you can. In fact, most salon-quality extensions are designed to handle everyday washing and showers. Whether you’ve got tape-ins, sew-ins, or keratin bonds, water alone won’t destroy them. The real catch is in the “how.”
Most professional extensions attach to your real hair with adhesives, bonds, or clips. These methods, if done right, can withstand regular showers. Here’s a quick snapshot of how different types hold up:
| Extension Type | Water Resistance | Special Care Needed? |
|---|---|---|
| Clip-ins | OK, but best if removed before showering | Yes, dry thoroughly before reuse |
| Tape-ins | Water safe, avoid excess soaking | Protect bonds from oily shampoos |
| Sew-ins (Weave) | Safe in water | Watch for mildew if not dried well |
| Keratin Bonds | Hold up well | No conditioners near bonds |
If you’ve ever heard someone say, “Don’t ever get your extensions wet,” they probably meant clip-ins, which aren’t meant for showers. But all the permanent extension styles—like sew-ins and keratin tips—are made to handle regular life, including the shower. Even swim-proof! Just don’t soak your head forever in the pool. Chlorine can be rough on both natural hair and extensions.
The most important tip? After getting your hair extensions wet, treat them gently. Water opens up the hair shaft, making everything more prone to tangling and matting, especially at the roots. Go easy during your wash and rinse, and always follow up with gentle drying (more on that later). So yes, you can confidently step into the shower—just stay smart about what’s attached to your head.
Washing Extensions vs. Natural Hair: What’s Different?
Washing your natural hair feels pretty straightforward—you lather up, scrub, rinse, and you’re done. With hair extensions, things aren’t as carefree. Extensions don’t get oil from your scalp like your real hair does, so they dry out and tangle if you’re not gentle. Even the fanciest brands, including ones that cost more than a month’s groceries, need extra care.
Here’s what you need to know:
- Scrubbing hard or piling hair on top of your head is a disaster for extensions. This just leads to knots and matting, especially at the roots where the bonds, tapes, or wefts sit.
- Regular shampoos loaded with sulfates or heavy silicones can wreck the adhesive or weaken bonds. Go for gentle, sulfate-free shampoos instead.
- Water temperature matters. Super hot water weakens the glue or tape that holds extensions in. Stick to lukewarm water if you want your extensions to last.
- Extensions, especially human hair ones, don’t bounce back after damage like your natural hair. Once dried out or tangled, it’s game over unless you want to spend more money or hours detangling.
Just to give you an idea, check this quick comparison on how often and how differently you wash extensions compared to your own hair:
| Task | Natural Hair | Hair Extensions |
|---|---|---|
| Washing Frequency | Every 2-3 days (depending on oiliness) | Once or twice a week to avoid dryness |
| Scrubbing | Can scrub scalp thoroughly | Focus on scalp, go gentle around attachment points |
| Shampoo Type | Any, usually | Sulfate-free, mild formulas only |
| Conditioner Use | From mid-lengths to ends or full scalp | Mid-lengths to ends—keep away from bonds/tapes |
| Detangling | Normal combing after wash | Wide-tooth comb before washing, gentle after drying |
If you’re finding it tricky to change habits, just remember: treat hair extensions more like your favorite sweater after a spaghetti spill—handle gently and don’t ignore the care label. Taking these little steps seriously will save you loads of grief (and cash) down the line.
How to Shower With Hair Extensions the Right Way
Showering with hair extensions takes a little know-how. Before you get started, make sure your hair is brushed out—that means detangling gently from the tips up, using a wide-tooth comb or a brush for extensions. Skipping this step just makes knots worse when your hair gets wet, especially if you’ve got a pile of natural curls like my daughter Orla.
When you step into the shower, keep the water lukewarm. Hot water can dry out both your natural hair and your extensions, and really cold water doesn't help remove the grime. Stick to something comfortable, not scalding.
Here’s what works best for actually washing:
- Wet your hair thoroughly, letting the water flow down from roots to ends. Don’t flip your hair over or swirl it around—it’s how tangles start.
- Use a sulfate-free shampoo. Regular shampoos can strip extensions and break down bonds, especially for tape-in and keratin types. Focus on your scalp for cleansing. Gently squeeze shampoo through the lengths, but don’t scrub the extension attachments.
- Rinse well. Leftover product gunk just weighs everything down and makes your hair feel greasy faster.
- Squeeze out the water with your hands—don’t twist or wring the hair. That can weaken or even pull out the extensions.
- Apply conditioner from mid-length to ends only. Never put conditioner right on the bonds or tapes; it makes them slip or loosen way before it’s time for your next salon visit.
- Rinse again, and don’t skip! The fewer products left on the extensions, the better.
One more thing: if you’re in a rush (trust me, I’ve showered with a laundry timer running), you can pop hair into a loose, low braid before getting in. It helps keep everything together, especially for longer or high-density extensions.
People with hair extensions should also avoid heavy hair masks or oils unless the brand specifically says they’re bond-safe. Otherwise, you’ll end up with slippy, greasy roots that the best dry shampoo can’t fix. Follow these steps, and showers become no-stress—even with Whiskers yowling at the bathroom door.
What to Avoid in the Shower
If you're standing under the water with your hair extensions, a few common missteps can spell disaster. Trust me, these aren't just tiny slip-ups to shrug off—doing the wrong thing in the shower can mean losing bundles (literally) or ruining your investment way too soon.
First off, don’t crank the water all the way to hot. High heat dries out both your natural hair and the extensions, making them more likely to get brittle or tangled. Stick to lukewarm water every single time. Super hot water is one of the top reasons people see their extensions looking straw-like after just a few washes.
If you’re tempted to pile all your hair on top of your head and rub it around with shampoo, fight the urge. Vigorous scrubbing and swirling means instant tangles, and can actually weaken the bonds of tape-ins or keratin-tips. Extensions need a gentle downward motion—never a ball of suds and chaos.
- Skip anything labeled “clarifying” or “deep-cleansing” on the shampoo bottle. These often have strong sulfates that will literally eat away at the glue or tape holding extensions in place.
- Say no to super-moisturizing conditioners near your roots. While they’re great for hair, they loosen up bonds and make tape-ins slip early. Conditioner goes from mid-lengths to ends only.
- Forget wire-bristle brushes while in the shower. Wet hair is weakest, and extensions are even more prone to breakage. Stick to a wide-tooth comb, and only detangle before you get in, never mid-shower.
You might be surprised how common it is to lose track of these habits. About 40% of people new to extensions report at least one issue caused by shower mistakes in the first month alone. Here’s a quick look at what you should—and shouldn’t—do in terms of frequency and products:
| Common Shower Activity | Safe for Extensions? | Tips |
|---|---|---|
| Hot water rinse | No | Use lukewarm water |
| Sulfate shampoo | No | Choose extension-safe formulas |
| Roots conditioner | No | Condition only from mid-lengths down |
| Gentle downward wash | Yes | Never scrub or pile hair up |
| Wide-tooth comb before shower | Yes | Detangle before water hits |
The big takeaway? Follow these no-go’s and you’ll protect your hair extensions (and your wallet). Ignore them and you may end up in the stylist’s chair for a pricey fix sooner than you think.

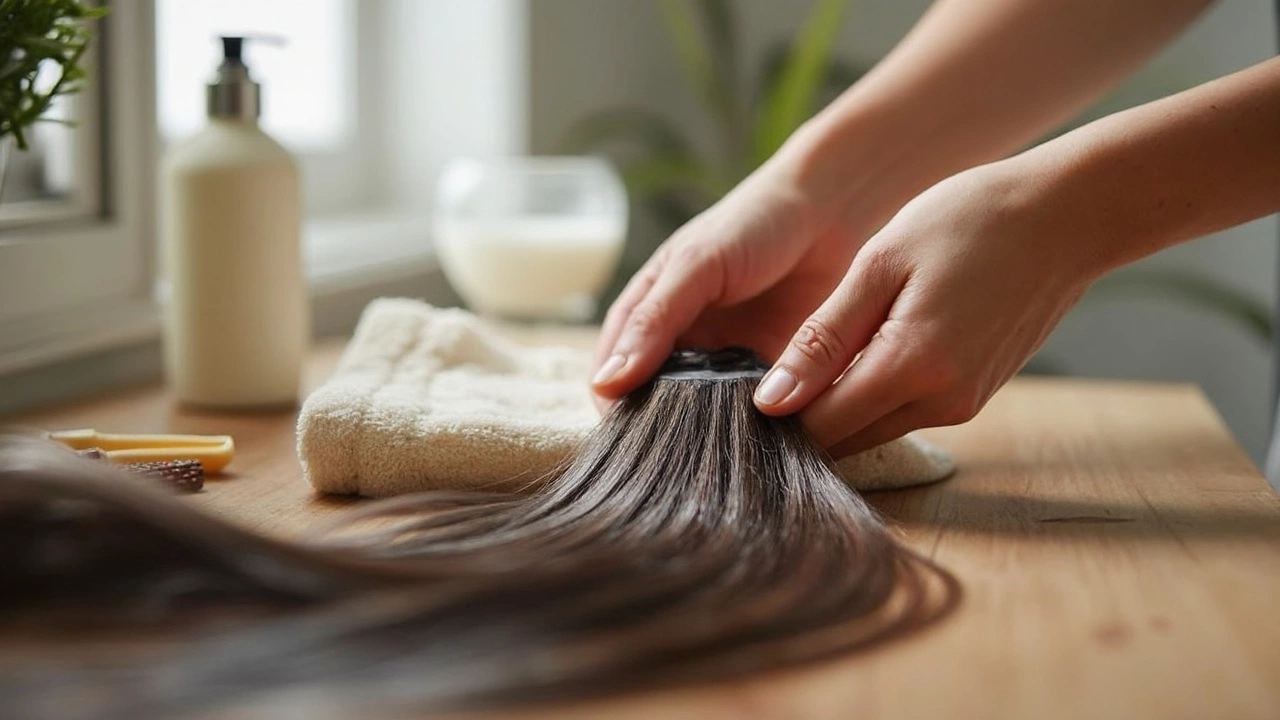
Real-Life Tips for Drying and Styling Afterwards
Drying your hair extensions right is what keeps them looking good and lasting longer. Trust me, skipping proper drying is where most people trip up—hello, tangles and weird smells. Here’s what actually works in the real world (even if you’re racing a toddler to the snacks or moving a stubborn cat off the dryer).
- First, don’t rub. Squeeze out water gently with a towel, and then pat your hair dry. Wrapping your hair up like a burrito? Not a good idea—it twists the bonds and makes matting way worse.
- For the tape-in or keratin-bonded squad, take a second and carefully blot at the roots. Tugging, yanking, or flipping your hair upside down just puts strain on those connection points.
- Always use a wide-tooth comb or a special extension brush. Go from ends to roots, not the other way around. Start slow, since wet hair is weak and extensions don’t grow back if you yank them out.
- Air drying is the healthiest, but let’s be honest—some days you just can’t. If you need to use a blow dryer, keep it on low or medium heat, and always aim downward to keep things smooth. Never leave the attachment sites damp, especially with sew-ins or bonded types, because trapped moisture = bacteria and that funky smell nobody wants.
Here’s a quick look at how long it usually takes to dry different extension types the right way:
| Extension Type | Blow Dry Time (Avg.) | Air Dry Time (Avg.) |
|---|---|---|
| Clip-ins | 5-10 minutes | 30-90 minutes (remove before drying) |
| Tape-ins | 15-25 minutes | 2-4 hours |
| Sew-ins | 20-35 minutes | 8+ hours |
| Keratin Bonds | 15-30 minutes | 2-6 hours |
When it comes to styling, heat tools gotta be your second choice. Stick to low or medium heat. Always spritz a heat protectant, and give extension roots a wide berth—direct heat on bonds, tapes, or clips can melt glue or warp connections. Try gentle styles like loose braids or ponytails. Tight ponytails can actually weaken bonds over time. If you love styling, keep it sparse; hair extensions don’t bounce back from damage like your own hair does.
And don’t forget—if your extensions feel heavy or start itching, you might be holding onto too much moisture. Sprint for the blow dryer, and make sure everything’s bone dry. Better safe than sorry, even if the cat is staring at you like you’re crazy for blow-drying at midnight.