
Build Your Personalized 7-Step Skincare Routine
Answer a few quick questions and we'll generate your custom AM/PM routine with product tips and warnings about incompatible actives.
Morning
Evening
*Estimates assume ~30 seconds per step plus 60-second wait between serum layers.
Ever looked at a shelf of products and felt completely lost? You are not alone. The beauty industry loves to complicate things, selling us the idea that we need twenty different bottles just to look healthy. But what if there was a structured way to simplify it all without sacrificing results?
The 7-step skincare method is exactly that. It is a systematic approach that breaks down your daily face care into seven distinct, logical actions. Instead of guessing which product goes on when, you follow a clear sequence that maximizes absorption and minimizes irritation. This guide will walk you through each step, explain why the order matters, and help you decide if this rigorous routine fits your lifestyle.
Why Order Matters in Your Routine
Before we list the steps, you need to understand one golden rule: thin to thick. If you apply a heavy cream before a lightweight serum, the serum cannot penetrate the skin barrier. It just sits on top. By following the 7-step method, you ensure that active ingredients reach the layers where they work best. This isn't about doing more; it's about doing things in the right sequence so every penny you spend actually works for you.
Step 1: Oil-Based Cleanser
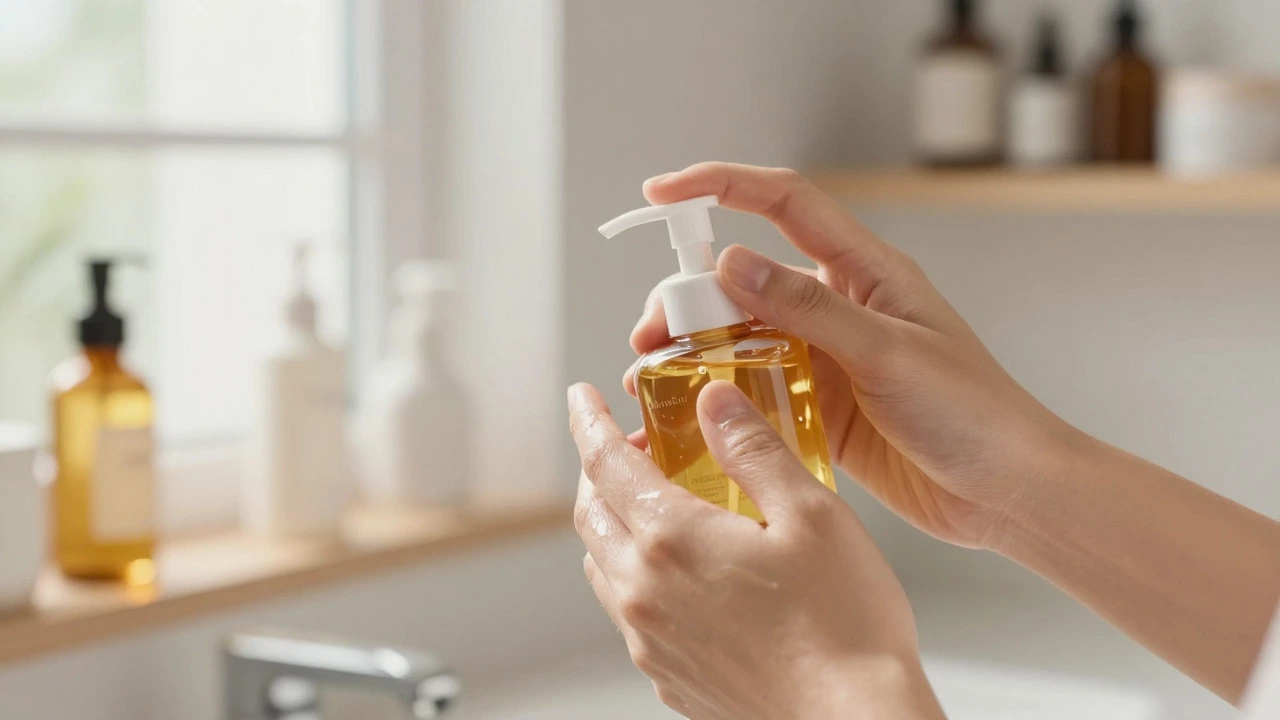
We start with an oil-based cleanser. Yes, even if you have oily skin. This step dissolves makeup, sunscreen, and excess sebum that water-based cleansers often miss. Think of it as melting away the day's grime. Look for balms or oils containing jojoba or squalane. Massage it onto dry skin for thirty seconds, then rinse with warm water. If you don't wear makeup or SPF, you can skip this step and go straight to Step 2.
Step 2: Water-Based Cleanser
Now comes the double cleanse. After removing the surface layer, you need to clean the actual skin. Use a gentle, pH-balanced gel or foam cleanser. This removes sweat, dust, and any residue left from the first step. Avoid harsh sulfates that strip natural oils, as this can lead to overproduction of oil later in the day. Pat your face dry with a clean towel-do not rub.
Step 3: Exfoliant
Exfoliation is where many people make mistakes. In the 7-step method, this happens three times a week, not daily. You have two main options: physical scrubs (which I generally advise against for sensitive skin) or chemical exfoliants. Chemical exfoliants use acids like AHAs (glycolic acid) or BHAs (salicylic acid) to dissolve dead skin cells. BHA is great for clogged pores, while AHA improves texture and brightness. Apply this after cleansing but before serums. If your skin feels tight or red, reduce frequency to once a week.
Step 4: Toner
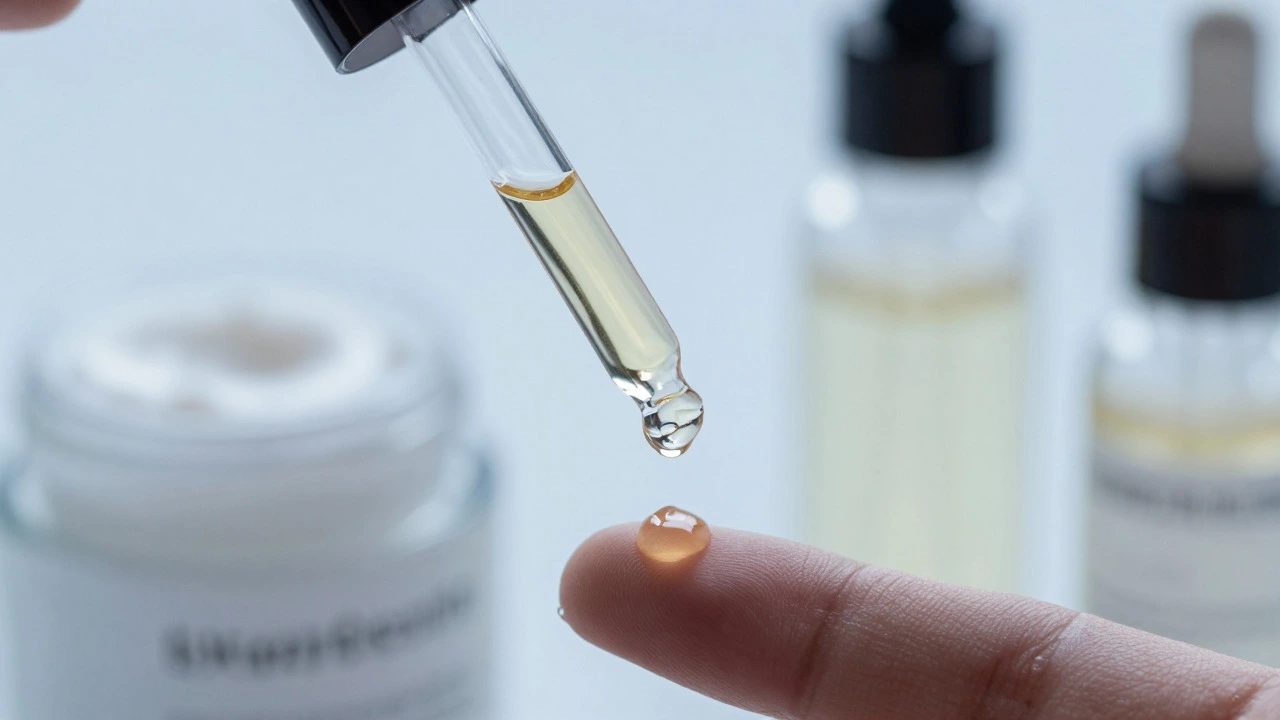
Toners have had a bad reputation because older versions were loaded with alcohol that dried out the skin. Modern toners are hydrating and prep the skin for better absorption. They restore the skin's pH balance after washing. Look for ingredients like hyaluronic acid or niacinamide. Press the toner into your skin with your palms rather than wiping it off with a cotton pad, which wastes product and can cause friction.
Step 5: Essence
This is the step that separates a basic routine from a K-beauty-inspired one. An essence is lighter than a serum but thicker than a toner. It delivers hydration and specific actives deep into the skin. If you are new to essences, look for ones with fermented ingredients like galactomyces or beta-glucan. These boost moisture retention and give your skin a plump, dewy look. Skip this step if you find your routine too long, but keep it if you want that extra glow.
Step 6: Serum
Now we get to the heavy hitters. Serums contain high concentrations of active ingredients targeting specific concerns. Do you have dark spots? Use vitamin C. Wrinkles? Retinol. Redness? Niacinamide. Apply your chosen serum(s) here. Remember, you can layer multiple serums as long as they play well together. For example, vitamin C in the morning pairs well with hyaluronic acid. At night, pair retinol with a calming ingredient like ceramides. Wait sixty seconds between layers to let each sink in.

Step 7: Moisturizer and Sunscreen
The final step seals everything in. During the day, your moisturizer should be lightweight, followed immediately by broad-spectrum SPF 30 or higher. Sunscreen is non-negotiable. It prevents photoaging, which accounts for up to 80% of visible skin aging. At night, you can use a richer cream or sleeping mask to repair the skin barrier while you sleep. If you have very dry skin, consider adding a facial oil as a final sealant over the moisturizer.
| Step | Morning Focus | Evening Focus |
|---|---|---|
| Cleanser | Gentle water-based only | Double cleanse (Oil + Water) |
| Exfoliant | Skip or use mild AHA | BHA or stronger AHA (3x/week) |
| Serum | Vitamin C / Antioxidants | Retinol / Peptides |
| Moisturizer | Lightweight + SPF | Richer cream / Sleeping mask |
Common Mistakes to Avoid
Even with a clear plan, small errors can ruin the results. Here are the most frequent pitfalls I see:
- Over-exfoliating: Using acids every day leads to a compromised barrier. Stick to three times a week.
- Mixing incompatible actives: Don't use retinol and strong acids in the same session unless you have very resilient skin. They can cancel each other out or cause irritation.
- Skipping SPF: Applying expensive serums without sun protection is like watering a plant and then burning it with the sun.
- Impatience: Results take time. Give a new routine four to six weeks before judging its effectiveness.
Is the 7-Step Method Right for You?
Honestly? Not everyone needs seven steps. If you have simple, healthy skin, a cleanser, moisturizer, and SPF might be enough. However, if you have specific concerns like hyperpigmentation, acne, or aging, the structure of the 7-step method helps you target those issues systematically. It also builds good habits. Once the routine becomes automatic, it takes less than five minutes in the morning and ten at night. Start with the basics (Cleanser, Toner, Serum, Moisturizer, SPF) and add steps like essence or exfoliation as your skin tolerates them.
Frequently Asked Questions
Can I use the 7-step method if I have sensitive skin?
Yes, but with caution. Choose gentle, fragrance-free products. Skip the exfoliation step initially or use it only once a week with a mild lactic acid. Focus on barrier-repairing ingredients like ceramides and centella asiatica in your serum and moisturizer steps.
What is the difference between an essence and a serum?
An essence is typically thinner and focused on hydration and prepping the skin for absorption. A serum is more concentrated with specific active ingredients targeting particular problems like wrinkles or spots. You can use both, applying the essence first.
Do I really need to double cleanse every night?
If you wear makeup or sunscreen, yes. These products are designed to be water-resistant, so a single water-based cleanser often leaves residue behind. If you wash your face bare-faced, a single gentle cleanse is sufficient.
How long does it take to see results from the 7-step method?
Hydration improvements can be seen within days. Texture and tone changes usually take four to six weeks, which aligns with the skin cell turnover cycle. Long-term anti-aging benefits require consistent use over several months.
Where do eye creams fit into this routine?
Apply eye cream after your serum and before your moisturizer. Gently pat it around the orbital bone using your ring finger, which applies the least pressure. This ensures delicate eye area products absorb properly without being diluted by heavier face creams.